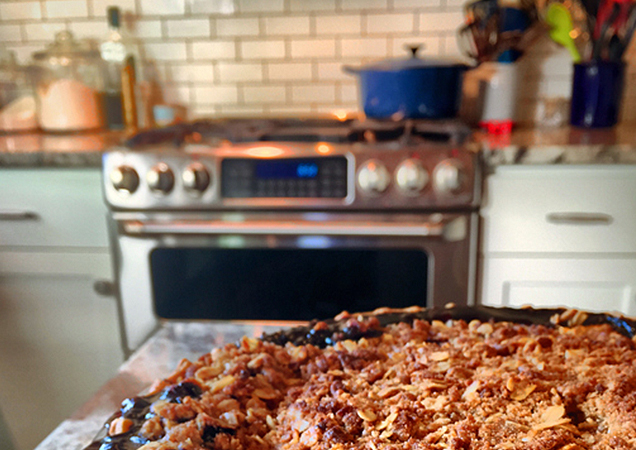
So, you’ve updated your kitchen with an amazing natural gas oven and stove, and now you think the rest of your kitchen should up its game to match. How about accenting your stove with a stunning new backsplash? It may sound daunting, but updating your backsplash can be an enjoyable weekend DIY project! And not only will an updated backsplash make your kitchen shine, but it will also help raise the value of your home.
Here are some ideas to get you started…
Chalkboard Paint
Pros: It’s budget-friendly, easy, and quick. Plus, having a chalkboard at your fingertips can be useful in the kitchen! Write out recipes notes, jot down phone numbers, or schedule out meal plans. Maybe leave a breakfast order for your spouse before you head off to bed?
Keep in mind, chalkboard paint isn’t the most durable of options. And as with any painting activity, you’ll need to make sure the surface you’re painting is clean and free of debris before starting.
Tools and supplies needed:
- Chalkboard paint
- Painter’s tape
- Paintbrush
- Roller and paint tray
Peel-and-Stick Tiles
Peel-and-stick tiles come in a variety of materials and designs. True to their name, they’re applied simply by peeling off the backing and sticking them to your (dry, clean) wall.
With this method, you’ll spend the most time on prep. Once you have prepared the perfect surface, placing the tiles is very straightforward. They may not have the longevity of traditional tile and mud, but they’re pretty easy to set up, and they look good.
Tools and supplies needed:
- Peel and stick tiles of choice
- Cutting mat
- Cutting knife
- Pen (or other marking utensil)
- Tape measure
- Ruler
- Straight edge
- Level
Ceramic, Porcelain, or Glass Tile
With so much variety, tiles like these can be tailored to your preferences and kitchen. Whether you decide to go bold and colorful or stick to white with a touch of color for the trim, these can take your kitchen to the next level. Traditional tiles are easy to clean and stain-resistant. Installing them is a little more labor-intensive, but you can’t beat their durability.
Although at first glance tiling can seem like an intimidating undertaking, many a DIYer has been surprised at just how achievable it is!
Tools and supplies needed:
- Tile of choice
- Tape measure
- Level
- Tile cutter (Many times you can rent one from a local hardware store, but they also aren’t terribly expensive to buy.)
- Notched trowel
- Rubber grout float
- Grouting sponge
- Tile spacers
- Rubber mallet
- 5 gal. bucket
- Drill with mixing paddle bit (or something similar to mix the mud and grout)
Whichever option you choose, we’re sure you’ll feel a thrill of satisfaction every time you catch sight of your backsplash while using your natural gas stove.
